Category Archives: Blog
Blog
How to Make Photo Magnets at Home: A Step-by-Guide
Posted on August 1, 2025
Ever looked at your fridge and thought, “This could use a little... you”? Photo magnets aren’t just cute. They’re personal. And the best part? You don’t gotta spend big bucks to get them made. You can totally do it at home. It’s easy. Kinda fun too.
In this guide, we're showing you how to make photo magnets with stuff you probably already got, or can grab cheap. We’re talkin’ photo paper, magnetic sheets, a printer, and some other everyday DIY tools.
Let’s get into it.
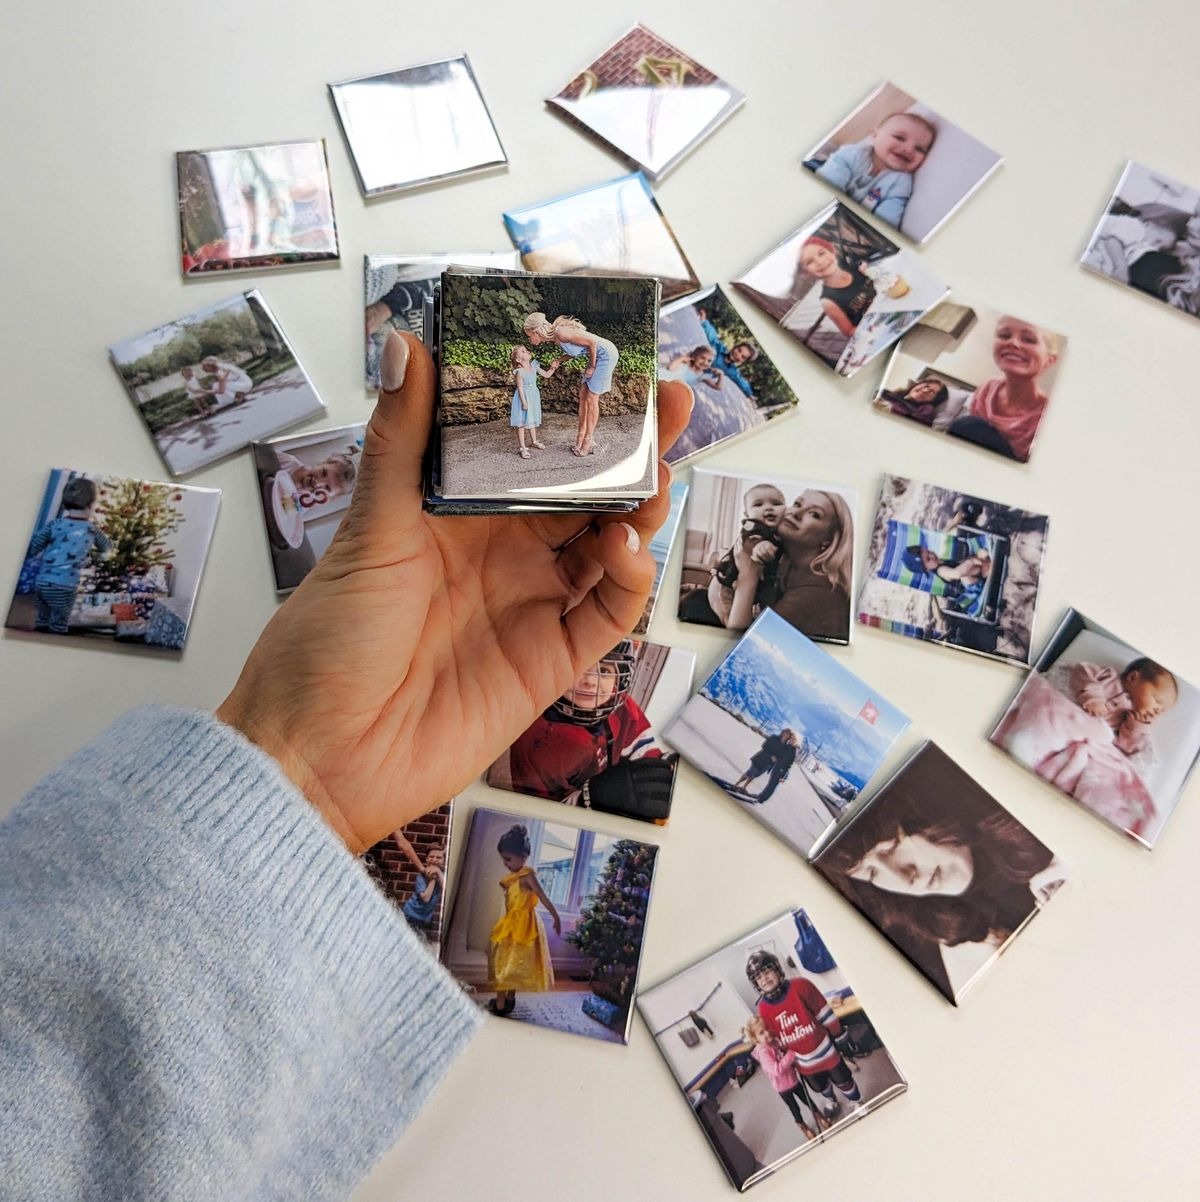
What Are Photo Magnets?
Quick one, photo magnets are just printed photos with a magnetic back. You slap 'em on the fridge, a locker, file cabinets, anything metal. Boom, instant memories on display.
You can make ‘em from travel pics, family snaps, pets, quotes, memes... whatever you’re into.
Why DIY Photo Magnets?
So, why not just buy ‘em from a site?
Because making your own? Way more satisfying.
- You control the size, crop, and look
- It's cheaper, way cheaper
- You can crank out a bunch in one go
- It’s low-key relaxing
Also, they make great gifts. Stick a few in an envelope. Done.
What You’ll Need to Make Photo Magnets at Home
Here’s your toolkit:
- Photo paper or glossy printable paper (the better the finish, the better your magnets look)
- Adhesive magnets or magnetic sheets (you can get ‘em peel-and-stick style)
- A printer (inkjet or laser, either works)
- A pair of scissors or a paper trimmer
- Optional: A laminator (keeps the photos fresh and protected)
- Photo editing software like Photoshop, Canva, or anything simple
- You can even use Canva templates made specifically for photo magnets (yup, they exist)
Step-by-Instructions to Make Photo Magnets
Alright, here comes the good part.
1 – Pick & Prep Your Photos
Go through your camera roll. Choose sharp, high-res photos. Blurry pics don’t look cute printed.
Resize them to fit magnet size, 2x2 or 2.5x2.5 inches works nice. You can use photo editing software or free apps.
Want it even easier? Canva's got templates you can tweak. Just drag your photo in, download, done.
2 – Print Your Photos
Time to hit print.
Use photo paper for best results. Or glossy sticker paper if you're skipping lamination.
Set your printer to the highest photo quality. Don't rush it. Let prints dry before touching.
3 – Laminate the Photos (Optional)
Not a must, but laminating helps, makes your magnets water-resistant and adds some shine.
If you don’t have a laminator, clear packing tape or spray sealant can work too. Not fancy, but does the job.
4 – Add the Magnet Backing
There’s two ways here:
- Stick your photo onto adhesive magnets
- Or print directly on printable magnetic sheets
First one’s easier for beginners. Stick it, trim the edges, and that’s it. Clean finish. Try using a ruler for straight cuts.
Tips for Better Results
Some small things make a big difference:
- Don’t use super thin magnets, they slide off easily
- Let ink dry fully to avoid smudges
- JPG or PNG works best, PDFs can mess with printer settings
- Always test-print one first before doing a whole batch
Best Photo Ideas for DIY Magnets
Stuck on what pics to use? Try these:
- Family photos (obviously)
- Cute pet shots
- Couple goals (anniversaries, weddings, etc.)Baby milestones
- Vacation pics
- Motivational quotes
- Aesthetic food shots (for foodies)
- Your brand logo if you're making promo merch
What Size Should Your Photo Magnets Be?
You can customize, but here’s what works best:
- 2x2 inches – Small, clean, perfect for lockers or office boards
- 2.5x2.5 inches – A little bigger, great for square Insta-style shots
- 3x3 or 3.5x3.5 – More visual punch for the fridge
Use Canva templates to size it right before printing. Makes life easier.
Using DIY Tools to Level Up Your Magnets
If you’re planning to make a bunch, a few tools help:
- Rotary paper cutter (way faster than scissors)
- Corner punch for rounded edges
- Bone folder to smooth out bubbles
Heat laminator if you’re serious about durability
You don't need all this stuff, but it makes your magnets look extra pro.
Editing Tips Using Photo Editing Software
Before you hit print, polish your pics:
- Boost brightness + contrast
- Crop tight for impact
- Add white borders or drop shadows
- Use photo editing software like Canva or Snapseed
- Try Canva’s free magnet templates for layout ideas
Adhesive Magnets vs. Magnetic Sheets – Which is Better?
Here’s the breakdown:
| Option | Pros | Cons |
| Adhesive magnets | Easy to use, peel and stick | Need to trim edges manually |
| Magnetic sheets | Cleaner finish if printed direct | More expensive, trickier to print |
Common Mistakes to Avoid When Making Photo Magnets
Let’s help you avoid headaches:
- Don’t use regular copy paper, it’ll look faded
- Don’t rush the drying time, ink can smudge
- Crooked cutting? Use a trimmer, not scissors
- Don’t skip test prints
- Overloading the printer tray = chaos
How to Package DIY Photo Magnets as Gifts
Want to give these as gifts? Here’s how to level it up:
- Use mini kraft envelopes or clear plastic sleeves
- Add a little note or label (“Made with Love”)
- Tie with twine or washi tape
Stick inside a card for birthdays, holidays, thank-yous
Cute presentation = happy reactions.
Branding with Photo Magnets for Small Businesses
If you run a small biz, realtor, baker, hair stylist, photo magnets can double as business cards or swag.
Use your logo, a tagline, your IG handle. People stick magnets on fridges. They’ll see your brand daily. Smart marketing move.
Need bulk, pro-looking magnets? We've got just the place for that!
FAQs About Making Photo Magnets
You got questions, we got you. Here’s the stuff folks usually ask:
Are homemade photo magnets waterproof?
Sorta. If you laminate them or use waterproof photo paper, they hold up better. Without that? They’re okay but don’t expect ‘em to survive a spill.
How long do DIY photo magnets last?
Years, if made right. The key is quality magnetic sheets and decent ink. If you print with care and maybe add lamination, they'll last a long time on your fridge.
Can I use regular printer paper?
You can. But it won’t look great. Regular paper soaks up ink, photos come out kinda dull. Use photo paper if you want clear, bright colors.
Final Thoughts + A Little Tip from Us
If you’ve made it this far, you now know exactly how to make photo magnets at home. Easy, right?
It’s a fun little weekend project. Kinda addictive, honestly. Start with a few... then suddenly you’re making ‘em for gifts, events, your kid’s school stuff, business promos, you name it.
Still, if you want ‘em made perfect, with a clean pro finish, sharp print, and full customization, you can always let us handle it.
Or Skip the DIY Mess and Let Us Do It for You
At Photo Magnets by Adam, we make personalized photo magnets from your photos, your way.
Upload. Choose your size. Get gorgeous magnets delivered right to your door. No glue. No cutting. No stress.
We're kinda obsessed with quality, and it shows. Whether it's a birthday, save-the-date, or just to pretty up your fridge, we gotchu.
Try us out now: https://photomagnetsbyadam.com/
We make memories stick. Literally.
ABOUT
At Photo Magnets by Adam, we bring your favorite moments to life, one magnet at a time. Made with love, our photo magnets are perfect for sharing smiles, memories, and little pieces of joy.