Category Archives: Blog
Blog
The Ultimate Guide to Creating High-Quality Custom Photo Magnets
Posted on October 14, 2025
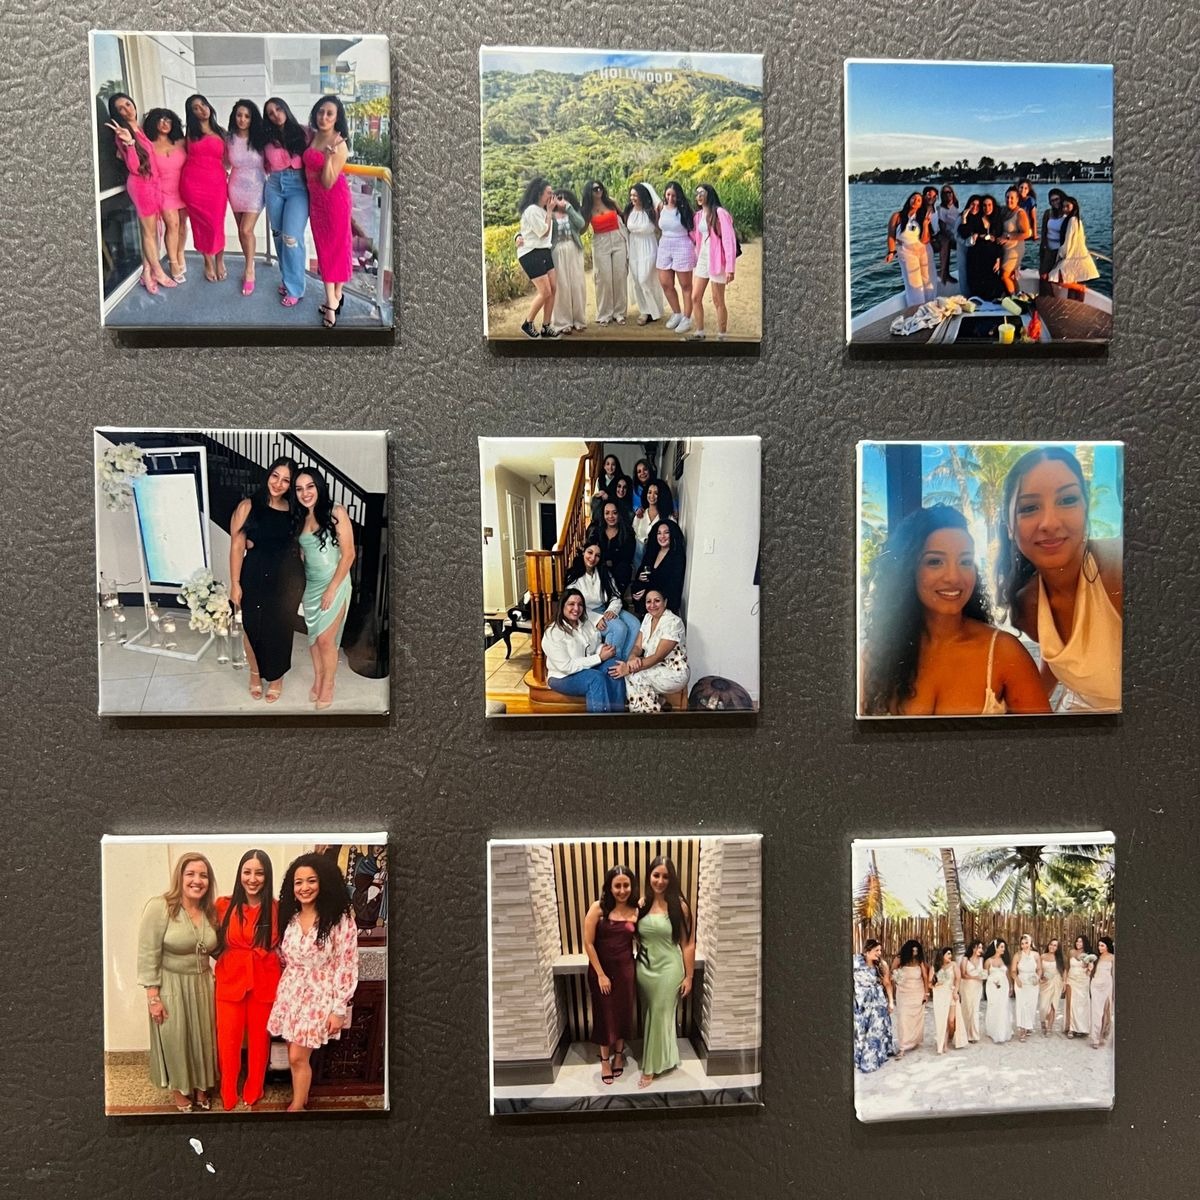
Magnets seem small. Just a square or two stuck to the fridge, right? But when you zoom in, they carry weight. Memories. Smiles. A story that you don’t want to lose in a phone gallery. That’s why high-quality photo magnets matter. They’re not just about printing a picture; it’s about making something that lasts, looks sharp, and actually feels worth gifting or displaying.
In this guide, we’ll walk you through how to make custom photo magnets that look professional and stand the test of time. You’ll also see why choosing the right finish, size, and durability is just as important as picking the photo itself. And yes, you’ll learn a few tricks to design your own magnets the easy way.
Step 1: Choosing the Right Photos
Everything starts here. If the photo itself isn’t good, no amount of editing or printing can save it.
- High-resolution images are key. Blurry or pixelated shots don’t print well on small magnets. For a crisp result, go for at least 300 dpi quality.
- Lighting makes or breaks it. Natural light works best, morning or evening light tends to be softer. Harsh flash can wash out faces.
- Do light edits. Crop out distractions, adjust brightness, and sharpen the image if needed. But don’t overdo filters, they can make the print look fake.
Tip: Candid moments often make the best high-quality photo magnets. Real smiles beat posed ones almost every time.
Step 2: Cropping & Designing
Magnets aren’t big canvases. A popular size is 2x2 inches. That means you have to think carefully about what part of the photo stays in frame.
- Crop smart. Don’t squeeze in too many faces. Focus on one or two subjects.
- Leave some breathing space. If the photo feels cramped on your phone, it’ll look even tighter on a magnet.
- Preview before ordering. Many tools let you see how the final magnet will look. Take advantage so you don’t get cut-off heads or awkward edges.
If you want to get creative, you can also design your own magnets with borders, quotes, or little graphics. Think “Happy Birthday,” “Best Vacation Ever,” or even your wedding date. A touch of design goes a long way in making them feel intentional.
Step 3: Printing Quality
This is where good suppliers separate from cheap ones. Printing decides whether your magnet looks like a professional keepsake or a blurry sticker.
- Glossy vs. matte finishes. Glossy gives bright, punchy colors that pop on a fridge. Matte has a softer, elegant vibe with less glare.
- Sharpness matters. Check if the printer uses modern digital printing techniques. Sharp lines and vibrant colors make photos stand out.
- True-to-life color. Skin tones should look natural, not orange or pale. If your supplier has reviews showing washed-out prints, run.
At Photo Magnets by Adam, every print is made to look sharp, balanced, and vibrant, so your magnets don’t just hold papers, they hold memories beautifully.
Step 4: Magnet Durability
A magnet that peels or falls off after two weeks? Not worth it. A good high-quality photo magnet should last for years without fading or losing grip.
- Strong backing. The magnet needs enough strength to hold papers, lists, or notes without sliding.
- Protective mylar sealing. This thin layer shields the print from scratches, spills, and everyday wear.
- Fade resistance. UV-safe printing helps keep colors bright even after years in a sunny kitchen.
Durability turns a magnet from “cute for now” into a real keepsake.
Creative Uses for High-Quality Magnets
Once you know how to make custom photo magnets the right way, the possibilities are endless. They fit into almost every part of life.
- Gifting: Birthdays, anniversaries, weddings, personalized magnets are thoughtful without being expensive.
- Home décor: Cover your fridge with travel photos or create a “memory wall” using a magnetic board.
- Corporate branding: Put your logo on magnets for trade shows or giveaways that people actually use.
- Travel souvenirs: Instead of buying overpriced fridge magnets abroad, make your own from vacation photos.
The beauty is, they’re practical and personal at the same time.
Ordering Tips
Now that you’ve got the design side figured out, here’s how to make the actual order smarter.
- Buy in sets. Most people prefer ordering 9, 12, or 24 magnets at once. It’s more cost-effective and gives you room to share extras with friends or family.
- Bulk orders save money. If you’re planning for weddings, parties, or corporate events, larger sets cut costs significantly.
- Check for free shipping & guarantees. Some places (like us) offer perks that make the order smoother and risk-free.
The ordering process should be simple. Upload photos, preview, confirm, done. No stress.
Quick Checklist for Perfect Magnets
When you’re making high-quality photo magnets, the little details matter. Here’s a handy checklist that keeps everything on track:
High-resolution photo chosen: Don’t settle for blurry shots. Always pick a photo that’s clear and sharp, at least 300 dpi if possible. Even phone pictures can look amazing if the lighting is right.
Cropped for small size: Remember, most magnets are only 2x2 inches. Focus on one or two subjects, and cut out anything distracting in the background.
Design preview checked: Always double-check how your photo looks in the magnet preview. It’s the best way to avoid cut-off heads or awkward cropping.
Finish selected (matte/glossy): Glossy pops with bold colors, while matte gives a softer, elegant look. Pick the style that fits your vibe.
Durable backing with mylar protection: Strong magnets should actually hold things on your fridge. A protective layer ensures they won’t scratch or fade fast.
Ordered in the right set size: Buying in sets (9, 12, or 24) saves money and gives you extras for gifting.
Follow these steps, and you’ll end up with custom photo magnets that not only look great but last for years.
FAQs About Making Custom Photo Magnets
Q: Do I need professional photos?
Not at all. Phone photos work fine as long as they’re clear and high resolution.
Q: What’s the best size for magnets?
2x2 is the most popular, but some prefer 3x3 or even rectangular options depending on the photo.
Q: Can I design text or graphics onto them?
Yes. You can design your own magnets with borders, text, and themed designs.
Q: How long do they last?
Years. With durable backing and protective coating, they stay sharp for a long time.
Q: Are they only for fridges?
Nope. Any magnetic surface works, lockers, filing cabinets, office boards.
Bottom Line
Making magnets might sound simple, but quality matters. When you know how to make custom photo magnets, you’re not just printing pictures, you’re creating small, lasting treasures. From choosing the right photo to ensuring the finish and durability, each step makes a difference.
If you’re ready to bring your memories to life, order from Photo Magnets by Adam. We make high-quality photo magnets easy, affordable, and beautifully done. Upload your photos today, design your own magnets, and see how powerful a small square can be.
ABOUT
At Photo Magnets by Adam, we bring your favorite moments to life, one magnet at a time. Made with love, our photo magnets are perfect for sharing smiles, memories, and little pieces of joy.